
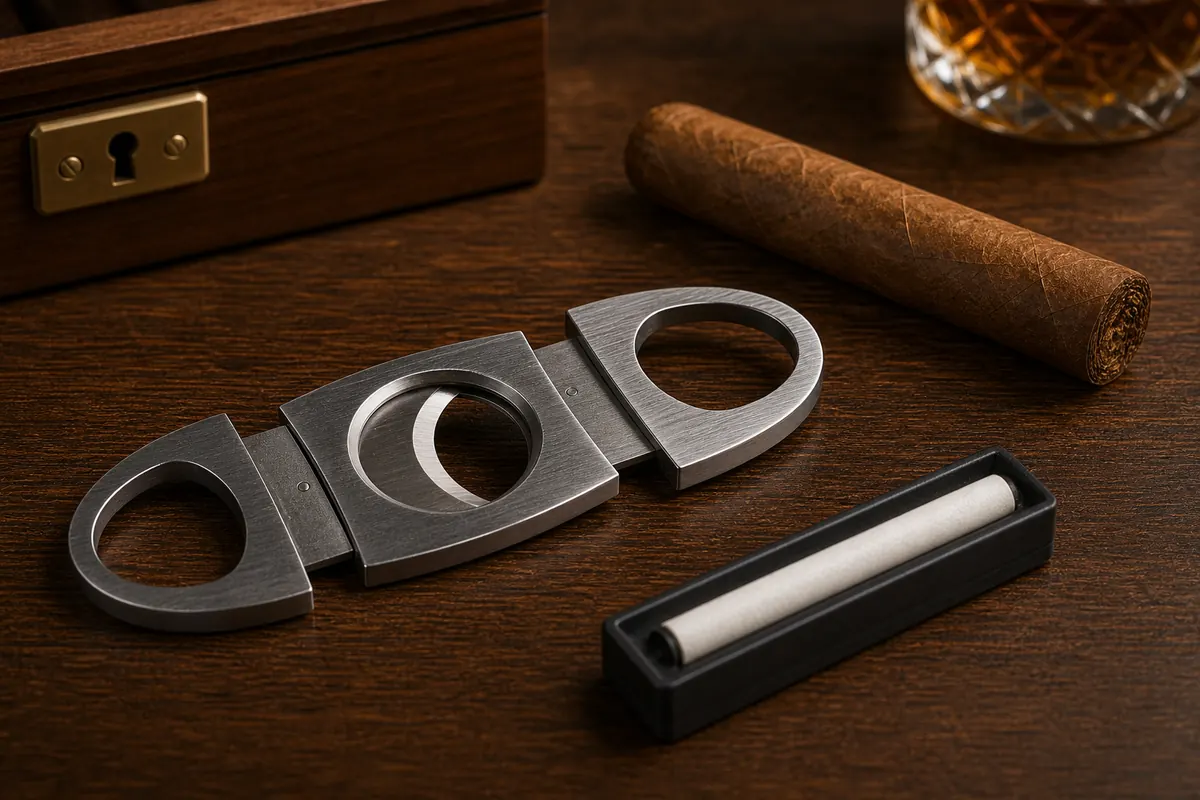
How to Sharpen a Cigar Cutter
You can restore a dull cigar cutter blade with 1500-grit wet/dry sandpaper, a ceramic honing rod, or a leather strop — depending on how far gone the edge is. The whole process takes five minutes and saves you from buying a new cutter every year.
If your cuts leave ragged wrapper fibers instead of a clean edge, the blade needs attention now. Here's how to fix it.
Signs Your Cutter Is Dull
A sharp cutter passes through the cap like scissors through ribbon — no resistance, no tearing. When it dulls, you'll notice:
- Wrapper fibers visible at the cut surface instead of a smooth edge
- You need to squeeze harder than when the cutter was new
- The cap tears or cracks instead of separating cleanly
- Small flakes of tobacco come loose after cutting
Most quality cutters (Xikar, Palio, Colibri) stay sharp for 6–12 months of regular use. Budget cutters under $15 might dull in weeks. Either way, sharpening extends the life dramatically.
Method 1: Fine-Grit Sandpaper (Best for Most Cutters)
This works on both single-blade and double-blade guillotine cutters. You're removing microscopic metal to re-establish the cutting edge.
What You Need
- 1500-grit wet/dry sandpaper (auto parts stores carry this)
- A flat, hard surface (glass or granite countertop)
- Light machine oil or water as lubricant
- Cotton cloth for cleanup
Steps
First, disassemble the cutter if possible. Many guillotine cutters have a center screw or pin that allows blade removal. If yours doesn't come apart, you'll work with the blade in place — just takes more care.
Lay the sandpaper flat on your hard surface. Add a few drops of water or light oil. Place the blade flat against the paper — the entire bevel should contact the abrasive surface. Don't tilt it. The factory angle is correct; you're just refreshing it.
Draw the blade across the paper in one direction only — away from the cutting edge. Do 10–15 strokes per side. Check the edge under good light. You should see a consistent, reflective line along the cutting edge with no visible nicks.
For double-blade cutters, repeat on both blades. Reassemble, test on a piece of paper (not a cigar). A sharp blade slices printer paper cleanly with minimal pressure.
Method 2: Ceramic Honing Rod
If you have a ceramic rod from your kitchen knife set, it works on cigar cutter blades too. This method is best for maintenance sharpening — when the blade is slightly dull but not damaged.
Hold the rod stationary. Draw the blade along the rod at the existing bevel angle (most cigar cutter blades are ground at 20–25 degrees). Five to eight passes per side. Light pressure only — ceramic removes metal faster than you'd expect.
This won't fix a blade with visible chips or rolled edges. For that, start with sandpaper and finish with the rod.
Method 3: Leather Strop (Finishing Touch)
Stropping doesn't sharpen — it polishes. After sandpaper or ceramic work, a few passes on a leather strop loaded with chromium oxide compound aligns the microscopic burr left from sharpening. The result is a blade that glides rather than cuts.
If your cutter is only slightly underperforming, stropping alone might be enough. Five to ten passes on loaded leather, trailing edge direction (blade moves away from the cutting edge). You'll feel the difference on your next cigar.
What About V-Cutters and Punch Cutters?
V-Cutters
V-cutter blades are wedge-shaped and recessed in a housing. Sharpening them requires a small, tapered honing stone or folded sandpaper that fits into the V-channel. Same technique: follow the existing bevel, light strokes, one direction. It's fiddly work. Some smokers find it easier to contact the manufacturer for a blade replacement.
Punch Cutters
Punch blades are tubular — the cutting edge is a thin circle of sharpened steel. You can sharpen one by rotating fine sandpaper (1500+ grit) inside the tube, pressing outward against the cutting rim. Wrap the paper around a dowel slightly smaller than the punch diameter. Rotate, don't push straight. Ten rotations is usually enough.
Honestly though, most punch cutters are cheap enough ($10–15) that replacement makes more sense than the effort of sharpening a tubular edge.
Common Mistakes When Sharpening
- Using too-coarse sandpaper: Anything below 1000 grit removes too much metal too fast. You'll round the edge instead of sharpening it. Start at 1500; go to 2000 for a mirror finish.
- Changing the bevel angle: The factory grind is optimized for cutting tobacco leaf. Tilt the blade steeper or shallower and you'll get a different cutting behavior. Keep the blade flat as it was ground.
- Skipping lubrication: Dry sandpaper loads with metal particles and scratches instead of sharpening. Water or oil floats the debris away.
- Over-sharpening: 10–15 strokes is enough for maintenance. If you're doing 50+ strokes, the blade might have deeper issues (chips, corrosion) that sharpening won't fix.
When to Replace Instead of Sharpen
Sharpening has limits. Replace your cutter when:
- The blade has visible chips or pitting from corrosion
- The pivot mechanism is loose (blades wobble or don't align)
- You've sharpened it 4–5 times and the edge geometry is noticeably different from factory
- Spring tension is gone (the blades don't snap closed anymore)
A quality cutter with proper sharpening lasts 3–5 years. At that point, pivot wear usually retires it before the blade does.
Maintenance to Delay Sharpening
Keep your cutter sharp longer with basic habits:
- Wipe blades with a dry cloth after each use — residual oils and tar accelerate corrosion
- Store closed, in a pouch or case, away from keys and coins that nick the edge
- Never cut anything except cigars. Paper, string, tape — they all dull faster than tobacco leaf
- Keep the pivot clean. A drop of light oil every few months prevents grit buildup that misaligns the blades
Next Steps
With a freshly sharpened cutter, make sure you're cutting at the right spot — our guide on how to properly cut a cigar covers cap anatomy and technique. And if your cutter is truly beyond saving, see our breakdown of cigar cutter types to find your next one.
Knowing When Your Cutter Needs Attention
A sharp cutter produces a clean, smooth cut surface when you slice through a cigar cap. Inspect the cut end: it should appear smooth and uniform like cleanly sliced cheese. A dull cutter produces a ragged, torn surface with visible wrapper fiber displacement and occasional loose threads of tobacco hanging from the cut edge. If you notice increased pressure needed to close the cutter, wrapper tears during cutting, or uneven cut surfaces, your blades need sharpening regardless of how long you've owned the tool.
Track cut count roughly if you want to schedule maintenance proactively. Most quality stainless steel blades perform well for 300-500 cuts before degrading noticeably. At three cigars per week, that's two or more years between sharpening needs. Premium cutters from Xikar and Palio using higher-grade steel may extend this to 500-800 cuts. If you're sharpening more frequently than annually with moderate use, consider upgrading to a higher-quality cutter with superior blade steel that maintains its edge longer between maintenance intervals.
DIY Sharpening Techniques
For guillotine cutters with removable blades, use a fine-grit sharpening stone (1000-grit ceramic or higher) to restore the cutting edge. Maintain the original blade angle by holding the blade flat against the stone at the same angle it was factory-ground. Make 10-15 light strokes per side, alternating sides to maintain symmetry. Test on a scrap piece of cigar wrapper or a leaf of paper: a properly sharpened blade should slice through paper with minimal resistance and cut cigar wrapper without visible tearing.
For cutters with non-removable blades, folded fine-grit sandpaper (1500-grit or higher) inserted between the blades while performing cutting motions can refresh the edge without disassembly. Perform 20-30 cutting motions against the sandpaper, then clean residual grit with compressed air or isopropyl alcohol. This technique works well for maintenance sharpening between professional services but cannot restore severely dulled or damaged edges that require full regrinding on proper sharpening equipment.
Step by step
- Check blade conditionExamine the cutting edge under bright light. Look for visible nicks, rolled edges, or corrosion pitting. If you see chips, consider replacement. If just dull, proceed with sharpening.
- Disassemble if possibleRemove the center screw or pin to separate blades from the housing. Work on each blade individually for better control and even results.
- Prepare sharpening surfaceLay 1500-grit wet/dry sandpaper on a flat, hard surface (glass or granite). Apply a few drops of water or light machine oil as lubricant.
- Sharpen with proper techniquePlace blade flat against the paper at the factory bevel. Draw away from the cutting edge in one direction only. 10-15 strokes per side. Don't tilt or rock.
- Strop for a polished edgeRun the blade 5-10 times on a leather strop loaded with chromium oxide. Trailing edge direction. This removes the microscopic burr and polishes the cutting surface.
- Reassemble and testPut the cutter back together. Test on printer paper — it should slice cleanly with minimal pressure. Then test on a cigar cap for the final verdict.
Community tasting notes
No community notes yet. Be the first to share how this smoked for you.
Log in to share your tasting notes and photos.